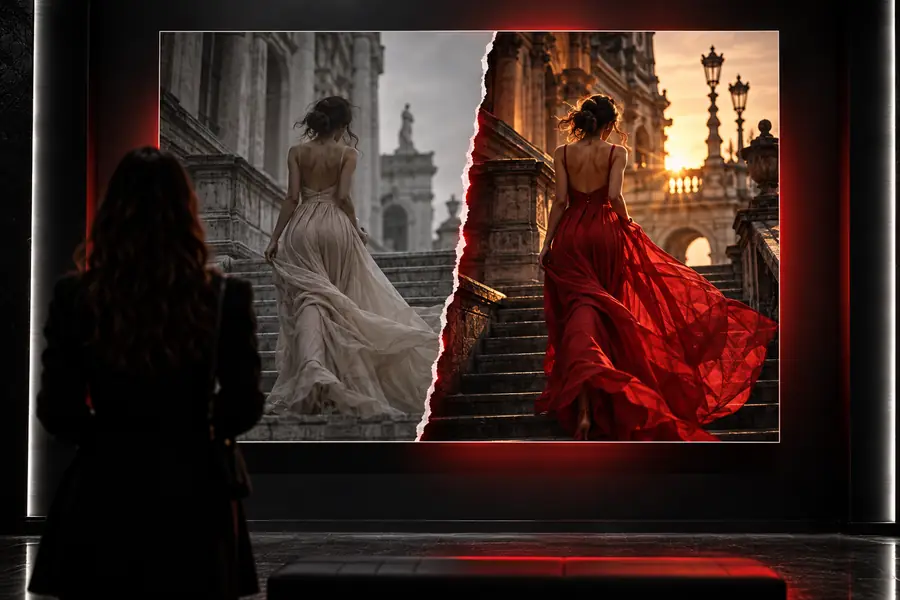
Focused image work

Work smarter with the reve image editor

The reve image editor is best approached as a focused revision workflow: start with a clear source, describe the change, and review the result against your intent.

Bring a clear source image
A visual example of an image editing workflow

Before you begin

Prerequisites

A few decisions up front make an image-editing request easier to evaluate and revise.

The working loop

One full run-through

The most reliable edit requests move from observation to instruction to comparison, rather than trying to solve every detail at once.

  1. 1

    Choose the source

    Start with the image that already has the composition, subject, or visual structure you want to preserve. Note what should remain unchanged.

  2. 2

    Name one clear change

    Describe the adjustment in concrete language: change the background, refine the lighting, alter the color mood, or correct a visible distraction.

  3. 3

    Review against intent

    Compare the result with the original request. If the edit moved too far, restate the protected elements and narrow the next instruction.

  4. 4

    Refine in passes

    Treat each pass as a small decision. Separate composition changes from styling changes so you can tell which instruction helped.

Choose your approach

Options table

These two approaches can overlap, but they are useful for different starting points and different kinds of creative control.

Prompt-led editing
Manual-first editing

Starting point

Prompt-led editing

An existing image plus a described change

Manual-first editing

An existing image plus hands-on adjustments

Best for

Prompt-led editing

Exploring a direction or testing a visual revision

Manual-first editing

Precise control over individual settings

Instruction style

Prompt-led editing

Natural language with clear priorities

Manual-first editing

Tool-by-tool decisions and direct manipulation

Iteration

Prompt-led editing

Revise the request when the result misses the brief

Manual-first editing

Adjust the relevant control or layer directly

Strength

Prompt-led editing

Fast communication of an overall visual intention

Manual-first editing

Detailed control when small differences matter

Main risk

Prompt-led editing

A vague request can produce an unfocused result

Manual-first editing

Many small changes can make the process slower

Good handoff

Prompt-led editing

State what to preserve before adding new changes

Manual-first editing

Record the settings or steps that produced the preferred version

Practical applications

Where the editor fits

The workflow is most useful when you already know what needs to change and can describe the desired outcome without overloading the brief.

Brand and marketing teams

A campaign image has the right subject but needs a cleaner setting, a different mood, or a more consistent visual direction.

A focused edit brief helps the team test a revision before committing to a larger production change.

reve image generator

Design students

A reference composition needs several visual variations for a concept board or critique.

Small, deliberate passes make it easier to compare ideas and explain which change improved the image.

reve for students

Content creators

A usable photo needs a targeted correction rather than a completely new image.

Describing the subject, protected details, and one desired adjustment keeps the revision grounded.

free reve image generator

Creative directors

A rough visual direction needs to be explored before a final production route is selected.

Prompt-led iterations can help clarify the brief, expose weak assumptions, and identify the strongest direction.

reve image generator

Start with one change

Ready to test an image revision?

Bring a source image, describe the most important change, and keep the first request narrow enough to judge. A clear starting brief gives every later pass something concrete to improve.

Edit an image
  • Name what should change
  • Protect the details that matter
  • Review each pass against the brief

Common questions

FAQ

It is an image-editing workflow centered on describing a desired visual revision from an existing source. The practical goal is to communicate what should change while making clear what should remain intact.

Start with the subject and the single most important change, then add constraints such as lighting, color mood, composition, or protected details. Concrete instructions are easier to review than a long list of unrelated ideas.

It depends on your starting point. Editing is a better fit when the source already contains the subject or composition you want, while a generation workflow is more suitable when you are beginning with a concept.

The request may combine too many changes, leave the protected elements unstated, or describe an abstract outcome without visual direction. Narrow the brief, identify what must stay, and make the next revision more specific.

A staged workflow is usually easier to evaluate than one overloaded request. Make a focused change, compare the result with the source and brief, then decide what the next pass should address.

Start creating
Start creating